|
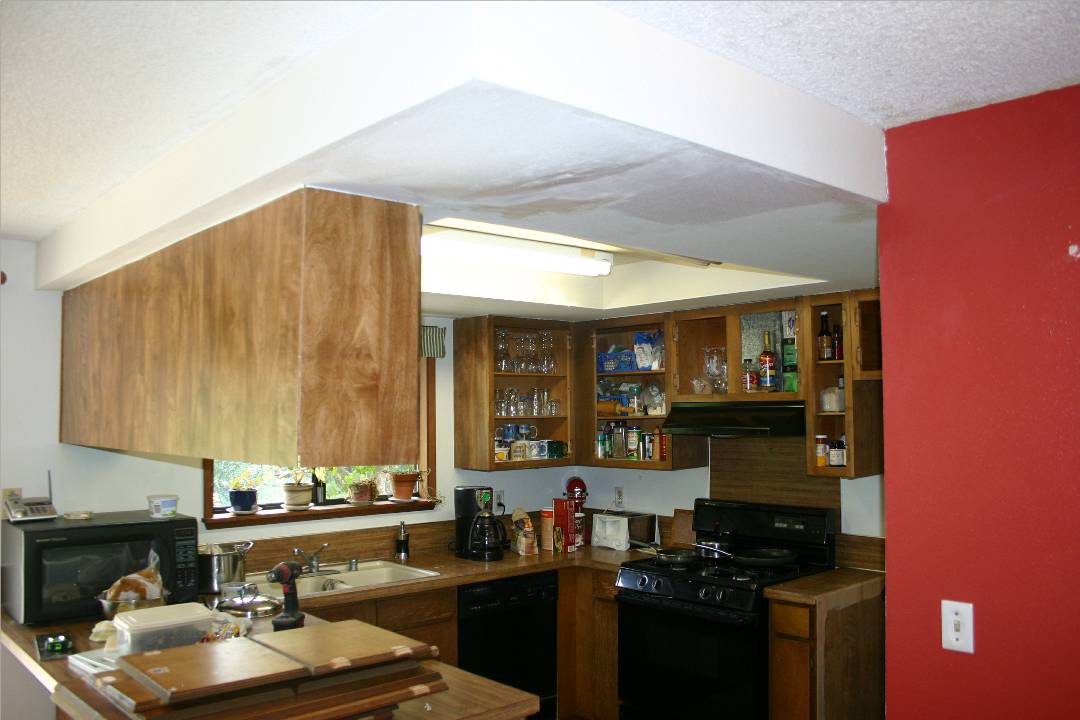
So it begins... The goal is to remove the upper cabinets, demo the soffit, refinish the cabinets and put everything back together. We'll upgrade the appliances and throw some granite on the counters and we'll have a brand-new (mostly) kitchen. Removing the doors
|
 |
After the doors are removed comes the task of taking out all the dishes, glasses, pots, and pans, and trying to find a place for them all to live during the remodel. They need to be out of the way, but with easy access. It's going to be a challenge... the house is only 1200 square feet, and I've been in it for 18 years -- it's full of stuff. |
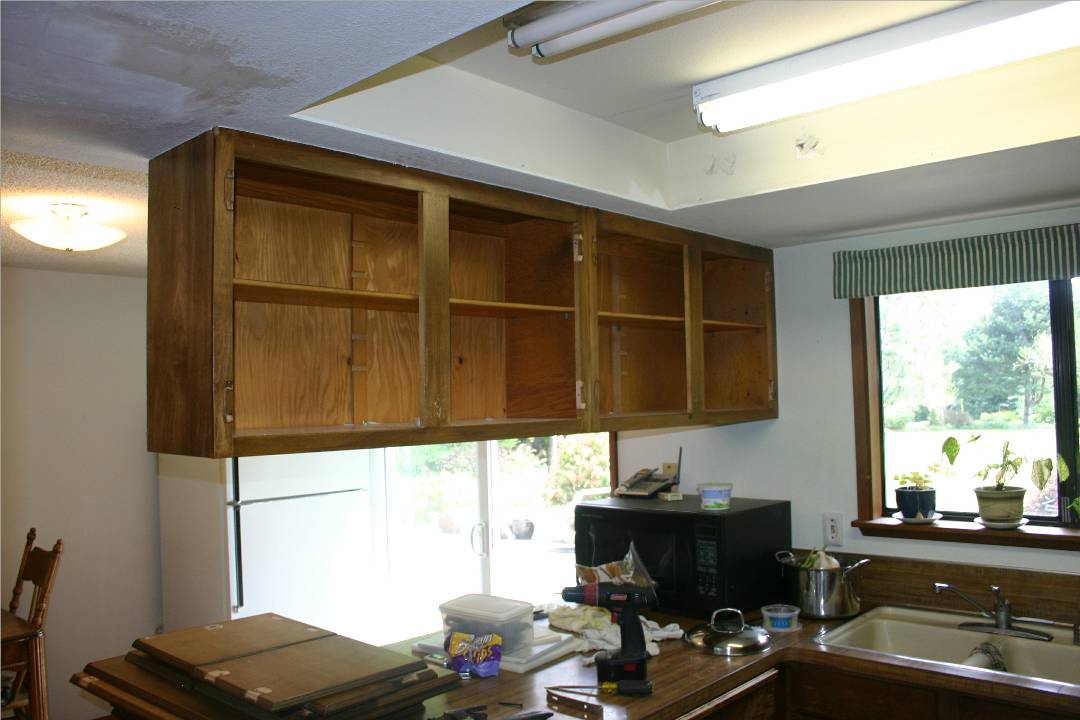 |
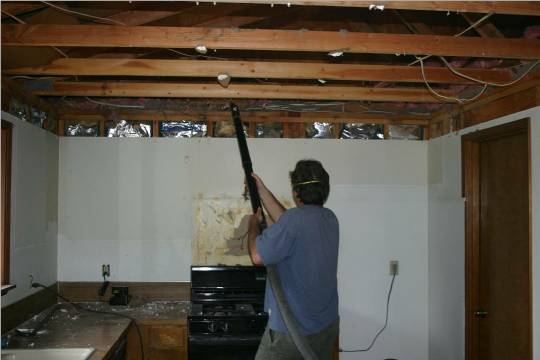
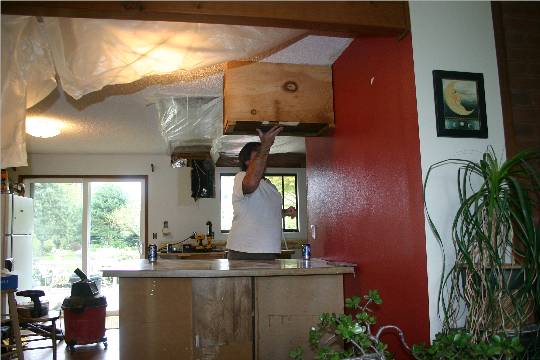
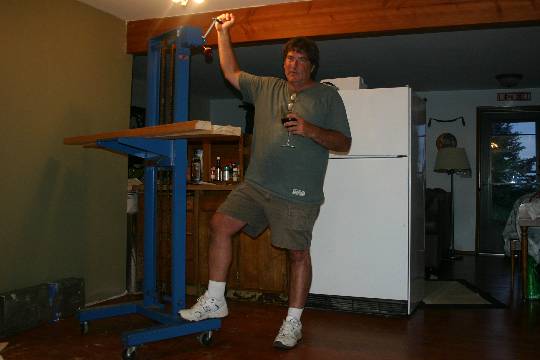
The Uppers Are Out
The upper cabinets came out without much trouble. The vent hood looks like it's going be a little challenging when I go to put the new one in. I'll be doing some attic time for that, and the new can lights too. You can tell by the look on my face that I don't quite know yet what I've gotten myself into. Good thing they make this cheap beer. |
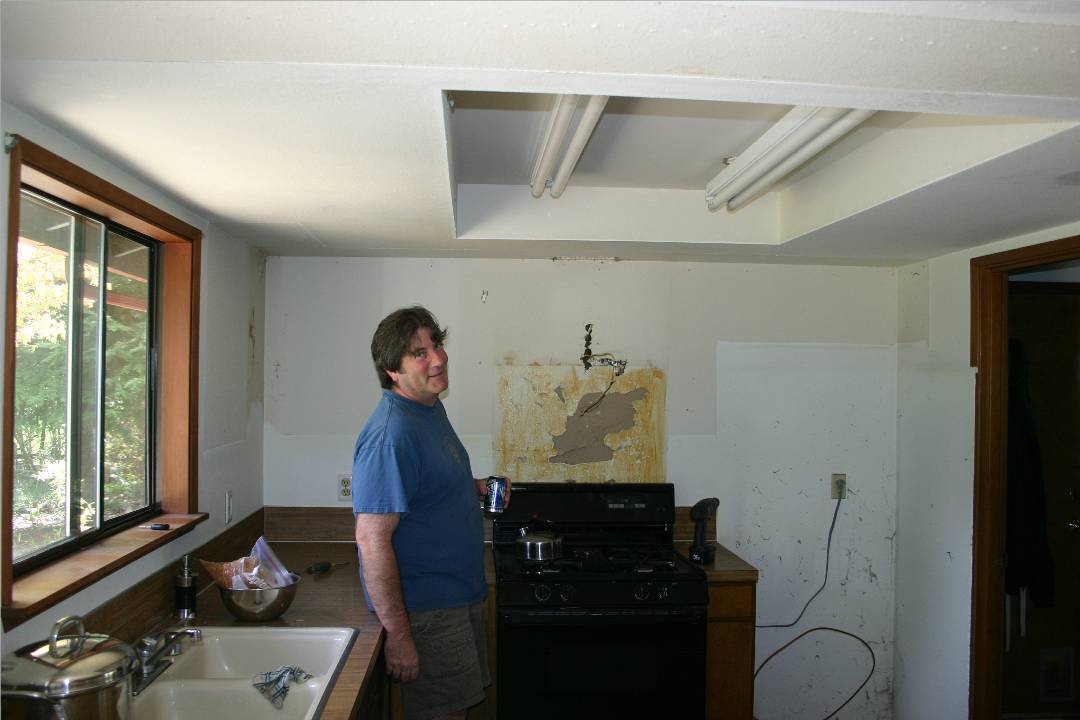 |
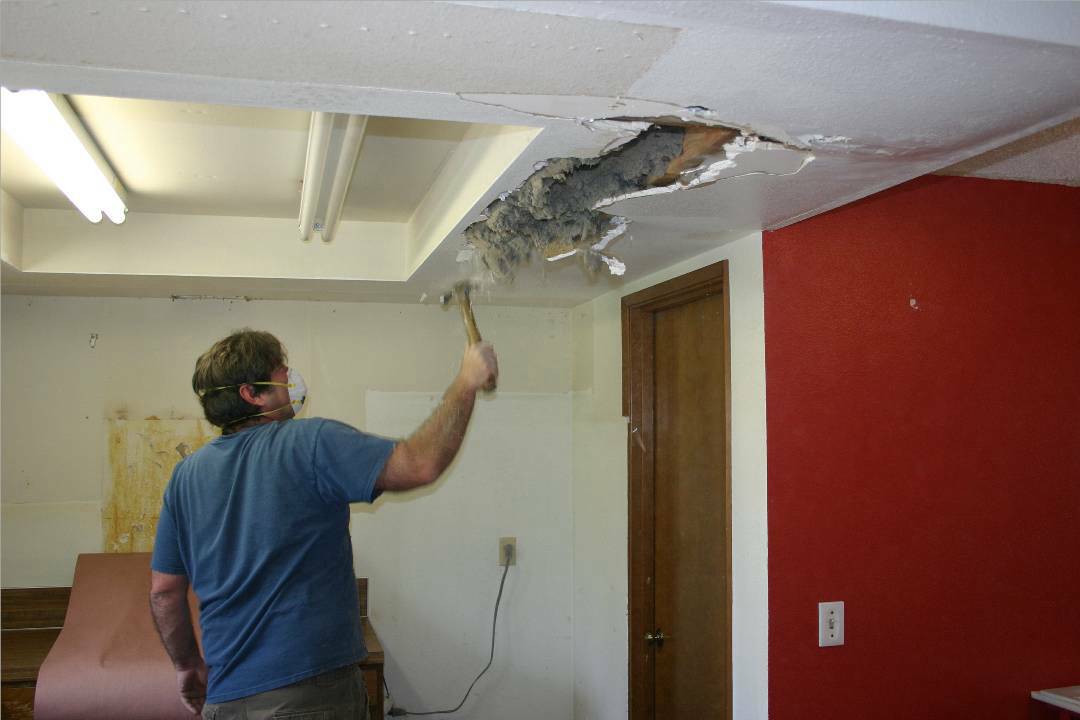
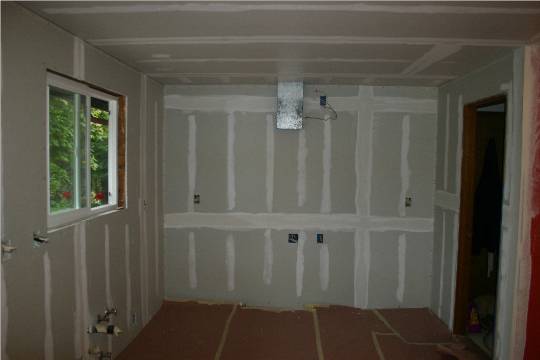
The Soffit
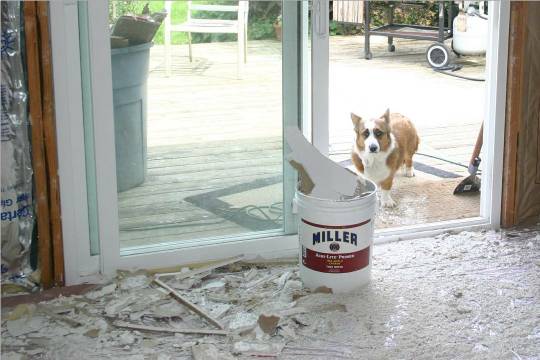
I didn't think that I would be getting into insulation so soon. It's cellulose, and fiberglass on top of that, mixed with mouse turds. Apparently, the previous owners had blown a layer of fiberglass over the existing cellulose. When I poked my head through to see what fresh hell was in store for me in the attic, I found my old bucket that was used during a particularly bad winter to catch snow-melt before it came through the soffit - long forgotten. For years I suffered without my trusty bucket, and here we were, finally reunited. |
 |
The Soffit is Out
To get to this point in the picture, you have to imagine me standing in about two feet of insulation and chunks of sheet rock swinging a hammer. Pull a few nails, a little vacuuming -- no problem. |
 |
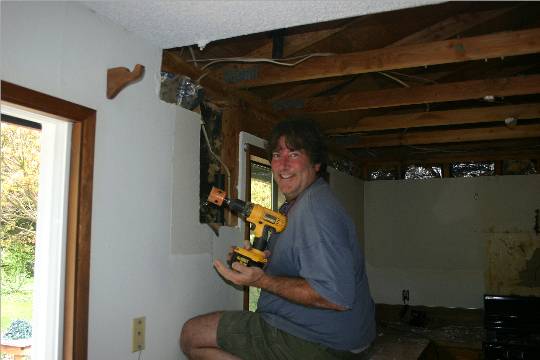
New Tool for the JobYou know you can't do any job without buying yourself a new tool. I found my cordless drill pretty handy for this job.I had to drill through the upper plate to hide a vent line that was in the soffit. |
 |
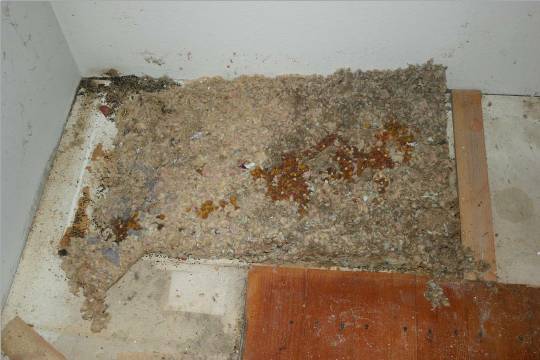
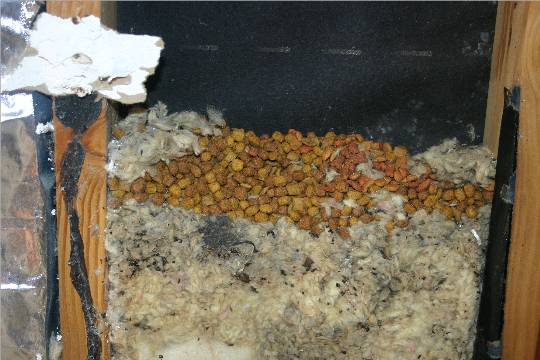
MiceHere's what we found under the base cabinets. This is layers of insulation and dog food that the mice had stashed. Note how they chose to use the corner for waste disposal, well clear of the food storage section of the nest. Clearly, these mice are civilized and have established excellent sanitation practices. |
 |
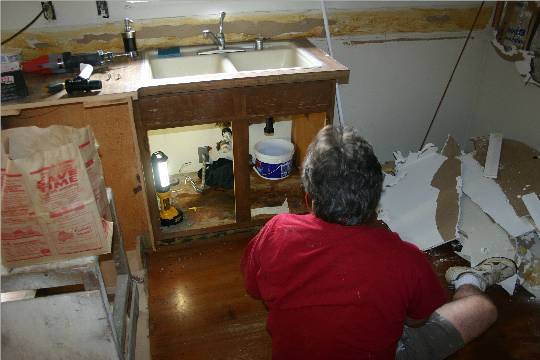
Lower Cabinet RemovalHere I am comfortable with my decision to go ahead and rip out the lower cabinets. I've decided that there's no point in refinishing them. They are looking pretty beat. We're just going to rip the whole thing out and start over. I'll go get some maple and start building new ones. Simple! |
 |
Hey... How About a Bar?We moved a couple of the base cabinets over to another wall for temporary storage and got the idea for a bar. We were both sold on the bar idea. It would provide more storage and counter area, but as far as putting cabinets above it, I was alone. |
 |
Hey, More Civilization!I mentioned how the mice had set up quite the civilization under the base cabinets. Here's what we found in one of the stud bays behind the sink. Apparently, it's a storage silo for food, as well as a cemetery. Those mice really have it together. Unfortunately, the smell gave them away when I cut into the wall to re-route the vent line, and I had to vacuum up their little hideaway. |
 |
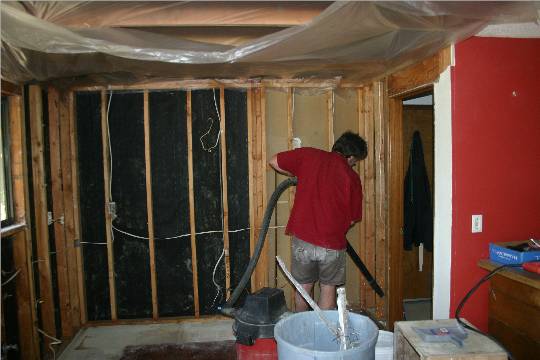
A Little More CleanupThe demo is pretty much done. After discovering mice habitat in one of the stud bays, I decided that it would be a good idea to rip out all the old sheet rock and check for more. Happily, those were the only two. The old sheet rock was not going to easy to patch and I'd become pretty handy with hanging sheet rock in the past couple of years working on my shop, so... out it comes. No mice were harmed in the remodeling of this kitchen. |
 |
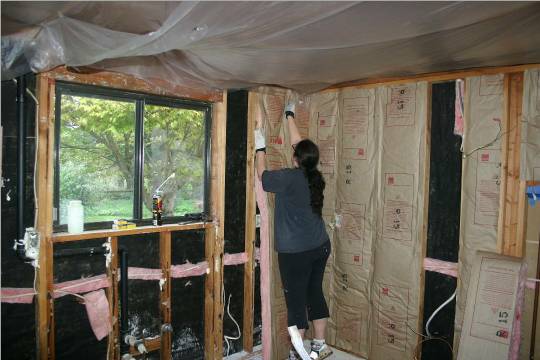
Erin "The Insulator"The old insulation was only R-13, and really torn up from the mice, and apparently gravity. We upgraded to R-15. Erin was a big help with the insulation. While we had the walls open, we patched up mouse access, and did a little wiring for the new microwave and 110-volt for the new gas stove. |
 |
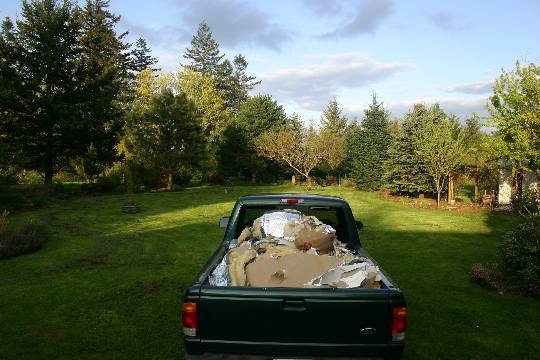
Off to the DumpWe're doing our part to keep the landfill topped off. It's surprising how much debris we tore out during demo. We made 3 or 4 trips to the dump. |
 |
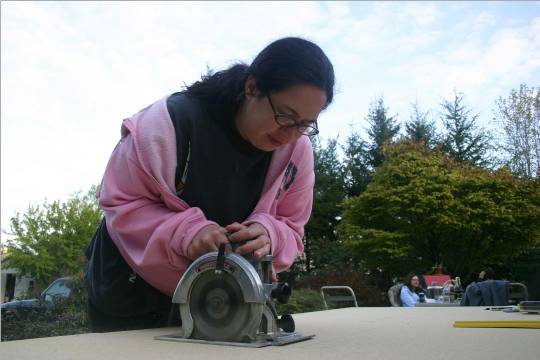
Some New UnderlaymentThe doug fir floor I put in many years ago was laid down around the old cabinets. The floor under the old cabinets needed to be brought up to the same level as the doug fir floor. Here's Erin cutting some 3/4" particle board to patch the floor. |
 |
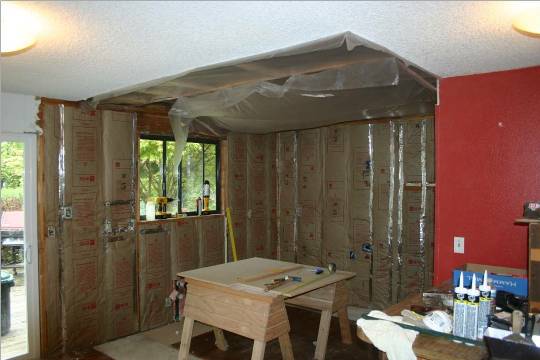
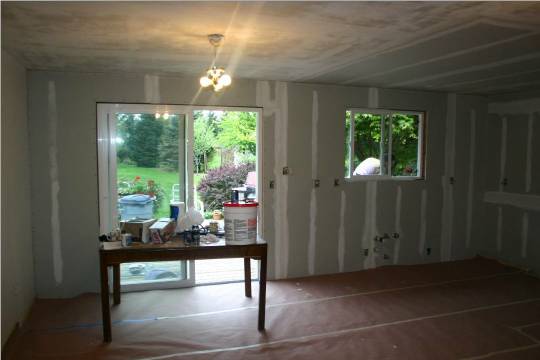
ProgressIt's actually not looking too bad. I'm starting to feel like the hard part is behind us. The insulation is done in the walls, and we're almost ready to install sheet rock. |
 |
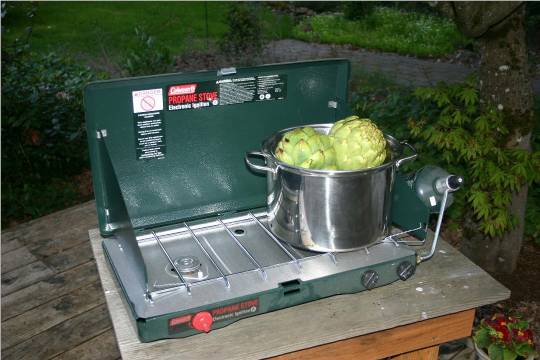
Provisional KitchenWe're cooking outside. This is one wedding present that sees a lot of use. Thanks Art and Tracie! Check out those killer artichokes! |
 |
Where do I Stop?!?When you remodel, you sometimes need to find a place where the new meets the old. Preferably, this place should not be in the middle of a wall. Since this was going to be the case, I finished tearing the sheet rock off the back wall. Lucy thinks we're nuts. |
 |
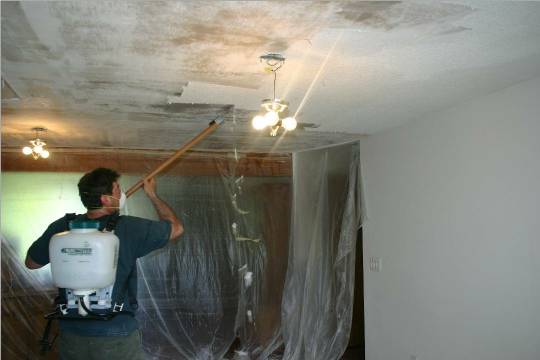
Lose the PopcornThe dining room had popcorn ceilings, and trying to match that stuff is damn near impossible. Plus, it's not that great looking to begin with, so it's outta here. My patented method: Spray lightly with water, and scrape off with a putty knife. As you can see, my method has become quite evolved -- this ain't my first popcorn ceiling. |
 |
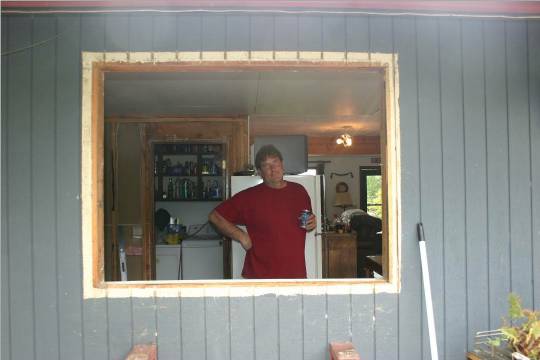
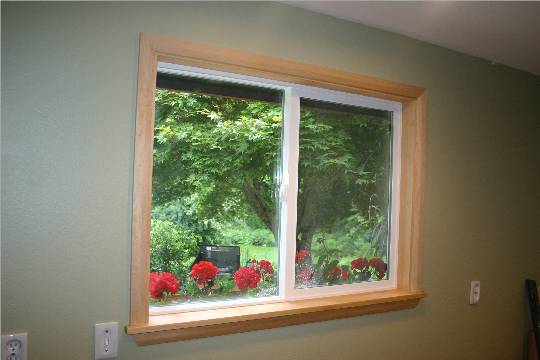
New Window? Sure.We bought a new window to match the new slider. We're slowly replacing windows all around the house. The old ones are aluminum and in the winter they build up with ice on the inside! That won't happen with vinyl. |
 |
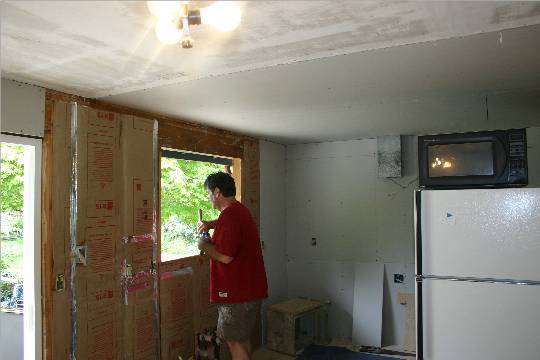
Ah, Sheet RockWe're in the midst of sheet rock. I discovered some nails around the window framing and it seemed like something I could do while I enjoyed a cool one. Isn't sheet rock fun? |
 |
More Sheet RockAlmost done with the mudding. I save the corners for last because they're so much fun. |
 |
Looks BigLooks like a nice big kitchen. A little mud, a little more mud, and then more mud and it'll be ready for more mud. |
 |
New WindowSkipping ahead... the mudding is done! We have finished the primer and the final coats of paint. And, I got a little woodworking in on the window casing - as well as the first of the cabinets. |
 |
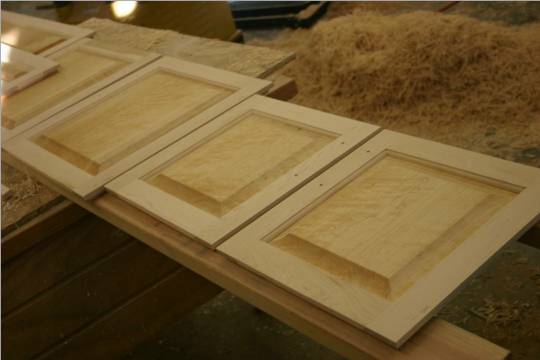
CabinetsThe first four cabinets are nearly complete. Hard Maple for the face frames and all the panels will be birdseye maple. Sides and backs that won't show will be 3/4" maple-faced plywood. Any wood that shows on the outside will be solid, not plywood. |
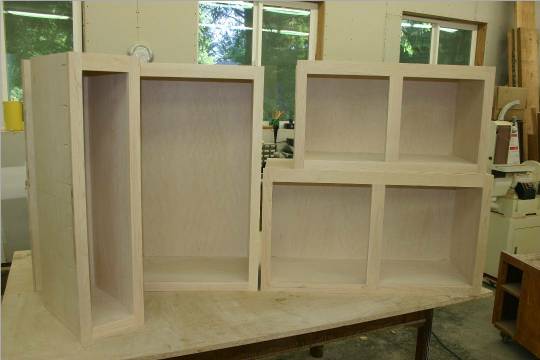 |
DoorsHere are the doors for the first four cabinets. I've finished the raised panels before assembly with Watco. In the event of shrinking panels due to changes in humidity, I won't see an unfinished line on the edge of any of the panels. |
 |
LucyLucy's stuck in the shop again. She isn't much of a shop dog. Anytime I look like I might be heading toward the door, she's there waiting to go outside. |
 |
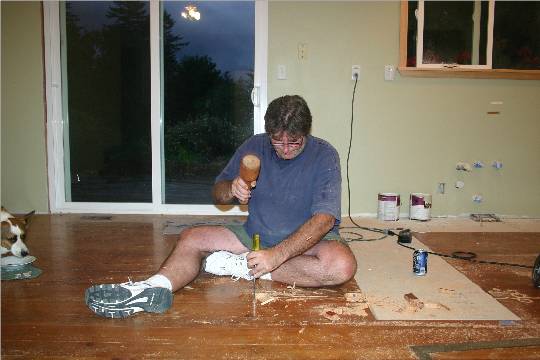
ModificationsThe cabinets are a bit shorter along the peninsula to allow for a larger refrigerator to fit through. I am chopping a square end on a floor board so I can install some new boards. They will cover about the last nine inches of the particle board underlayment. Rather than install doug fir floor boards the length of the section of particle board, having them all the same length, I staggered them to hide the patch. |
 |
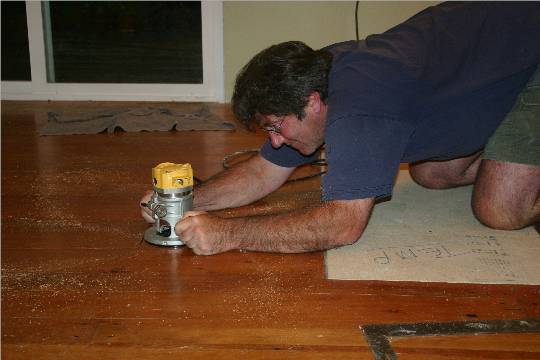
RoutingSince the floor is top-nailed and each board keys into it's neighbor with biscuits, I needed to rout around the nails to the underlayment in order to get the boards out without destroying the surrounding boards. |
 |
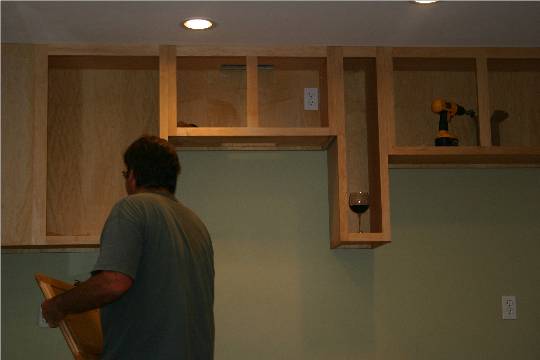
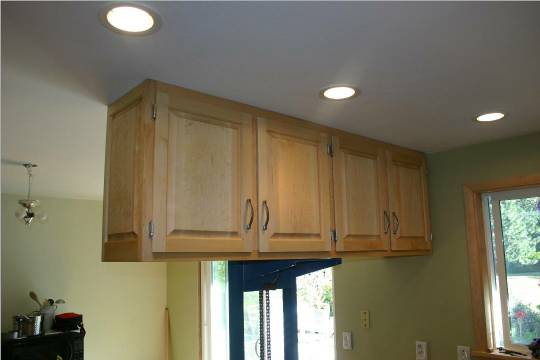
The First Four UppersThe first four upper cabinets are in. I bolted all four together while they were on the floor and used my cabinet lift to get them up there in one piece. Note the essential tools located in the cabinets. |
 |
Man and His ToolThat probably didn't come out right... anyway, here's the cabinet lift. I got it on Craig's List for $120 and sold it on Craig's List for $175. Capitalism is alive and well in Washougal. If you're the guy that bought it from me, that was still a good deal. |
 |
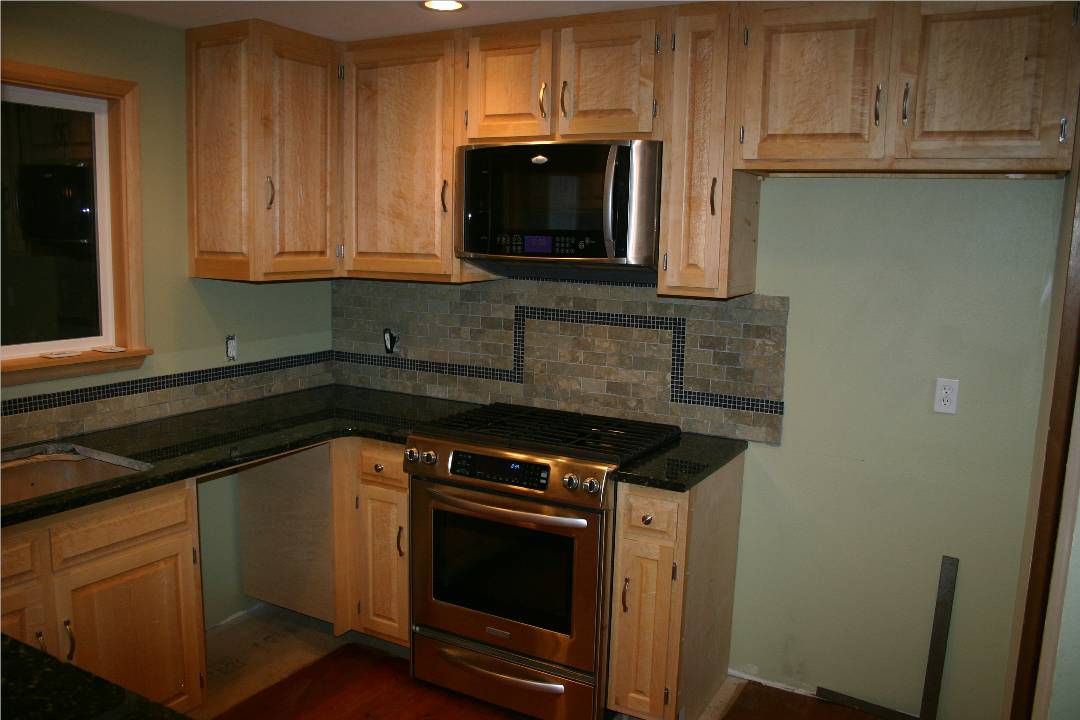
ProgressThe first four are up. The doors are on and the microwave oven is installed. But, we're still doing dishes in the bathtub, so back to work. |
 |
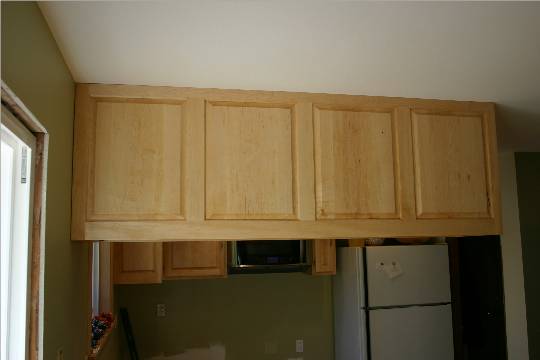
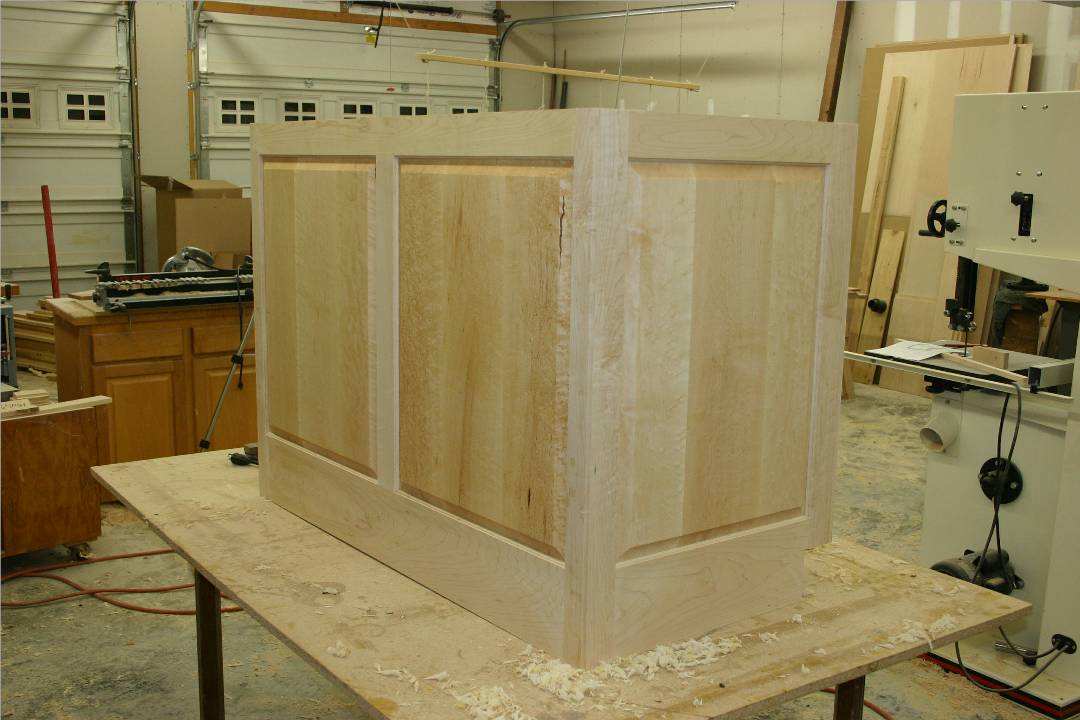
More UppersHere's one of the pictures I used to sell the cabinet lift on Craig's List. The cabinet you're looking at is one piece. It's got a solid wood raised panel on the side, and four on the back. |
 |
Back SideThe four back panels. |
 |
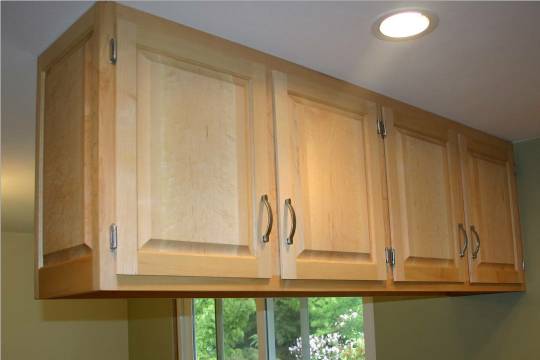
Glamour ShotHere's another view of the long cabinet. Note the new can lights in the ceiling. It's nice to not have a soffit anymore. The cabinets are a little taller and have more storage room. They are also a little higher off the counter on this side of the kitchen. The outside corners of the old cabinets were head knockers. |
 |
Upper HalfThe upper half of the kitchen is done! I've got a good start on the lower half, but still a long way to go. We're still roughing it with the Coleman stove, and my back hurts from doing dishes in the tub. That's great incentive to get the sink installed. |
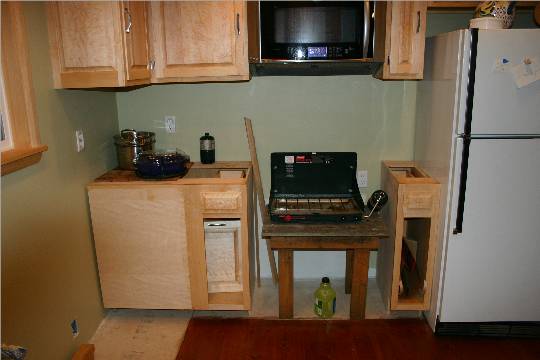 |
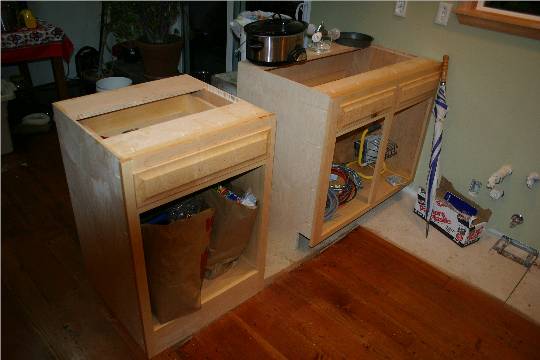
Temporary StorageI brought these in from the shop to give me more room out there, and to provide some grocery storage. These two cabinets don't belong in the position they're in, but they sure come in handy. |
 |
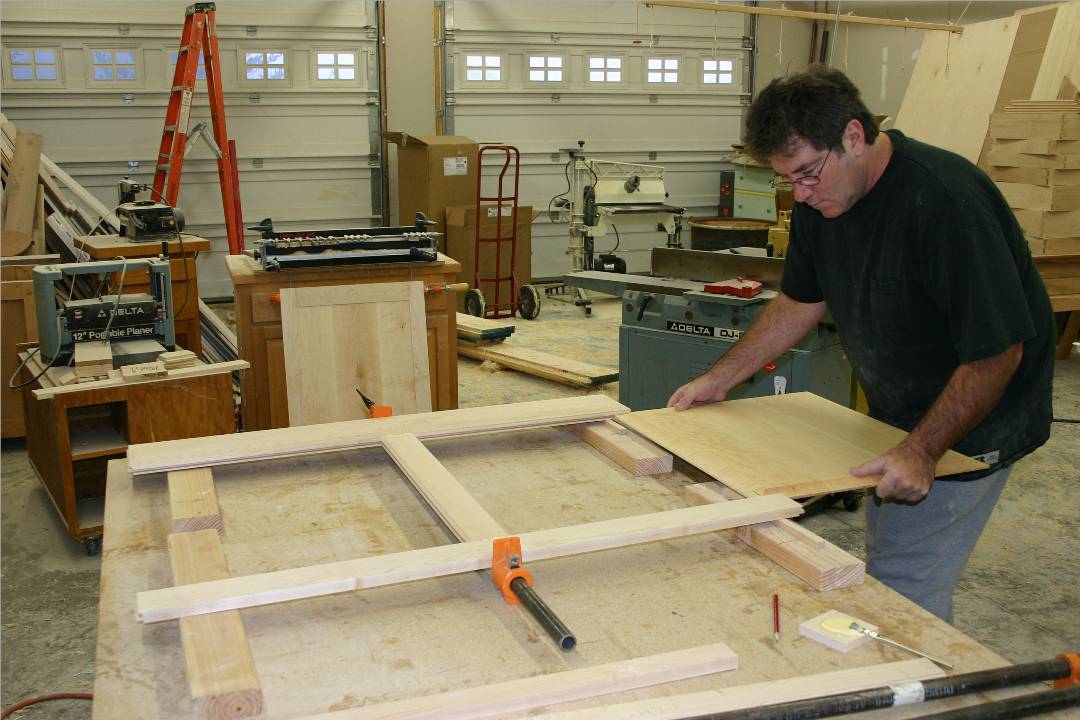
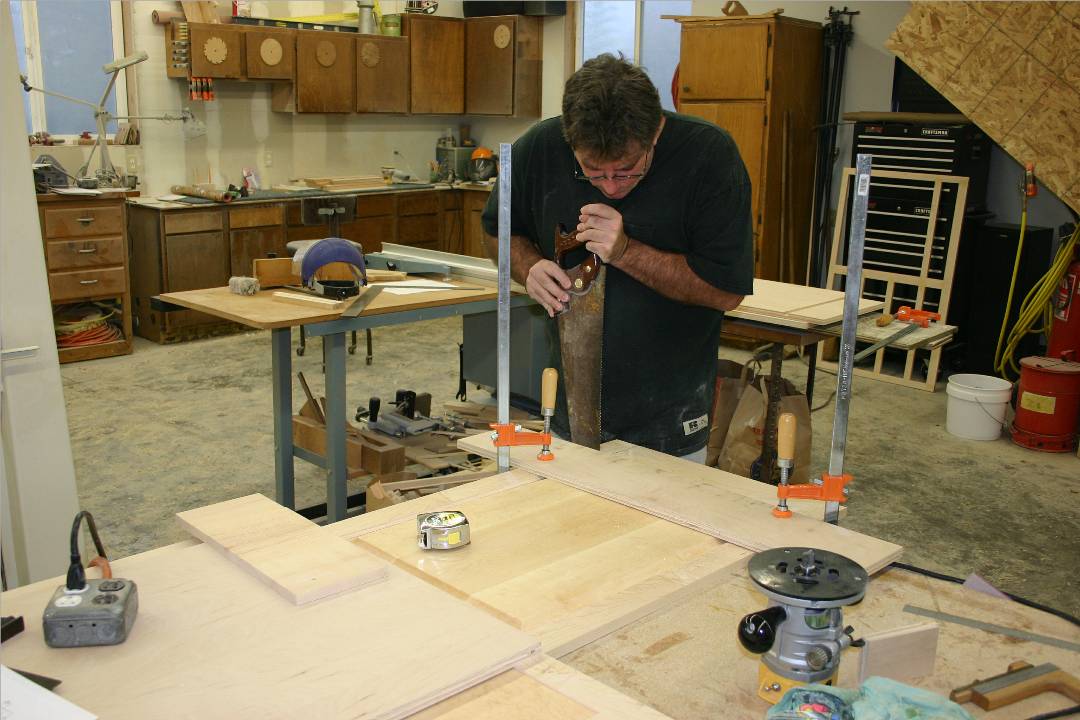
Out in the ShopPutting glue in the groove for the munton. This is the back panel for the end of the peninsula. |
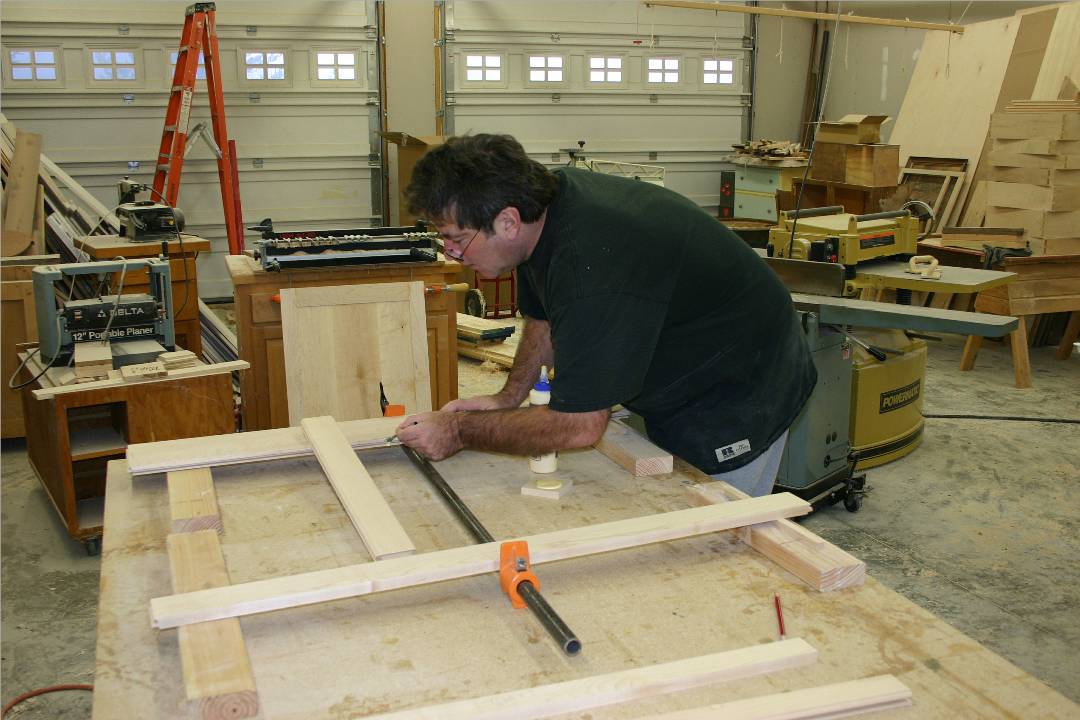 |
ClampingClamping in the munton. |
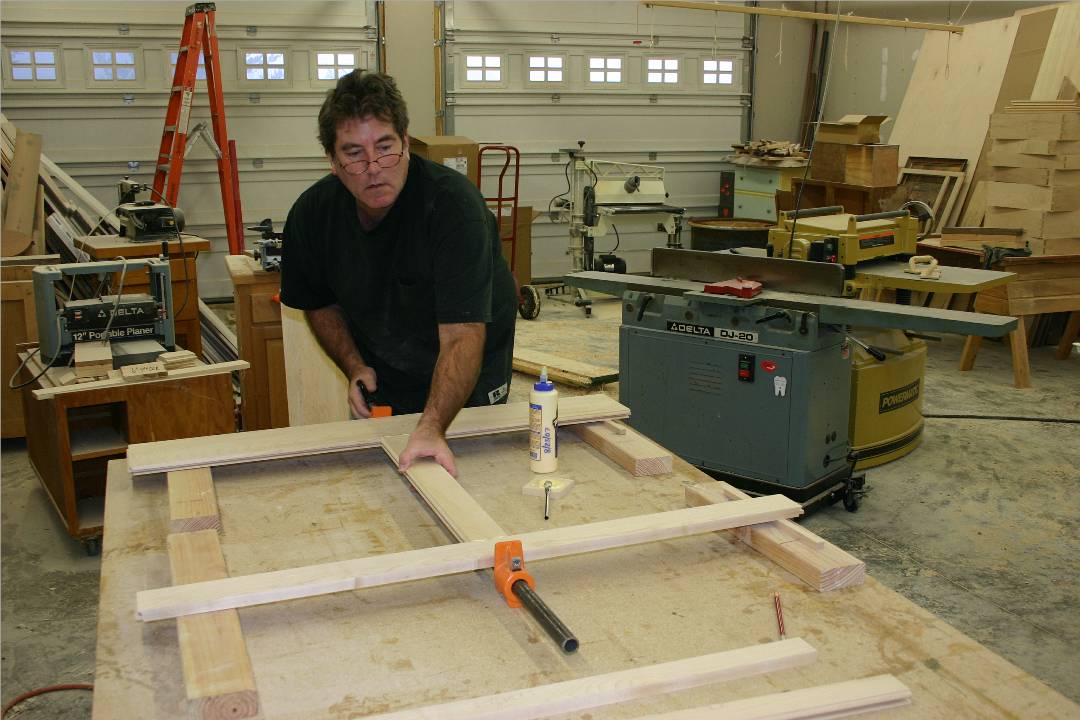 |
Raised PanelSliding in one of the raised panels. No glue! |
 |
StilesGluing in the last stile, and having a really good hair day apparently. |
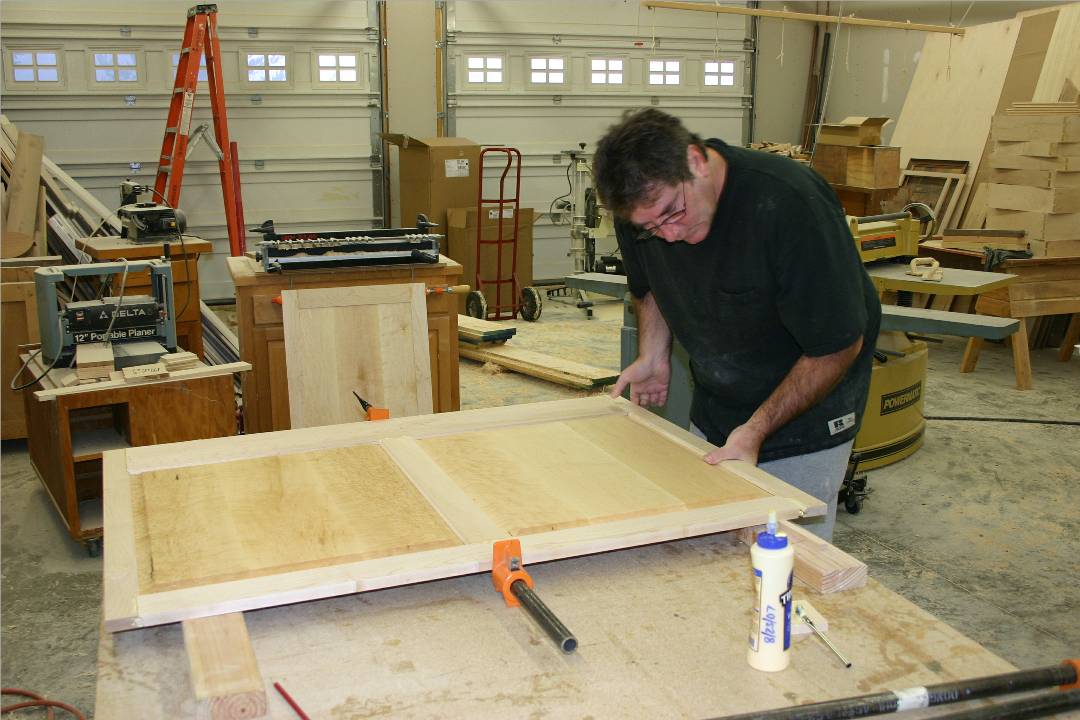 |
PanelsThe panel is clamped and left to cure for a good hour or so. |
 |
Toe KickCutting out the toe kick. I've got the saw up against a straight edge that's clamped to the panel. I don't do the freehand stuf like Norm if it's going to show. |
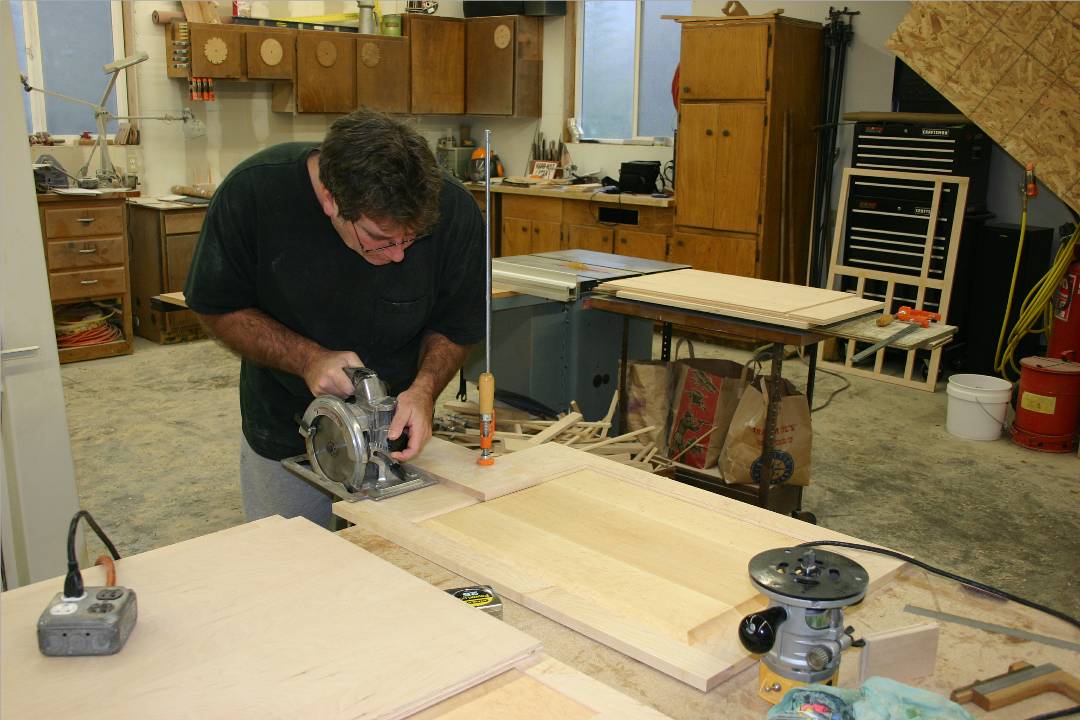 |
Toe Kick Part 2I'm sawing out the bit that the circular saw can't get. The straight edge is clamped on there for the next step. |
 |
RoutingI'm routing the groove the bottom shelf will be glued into. |
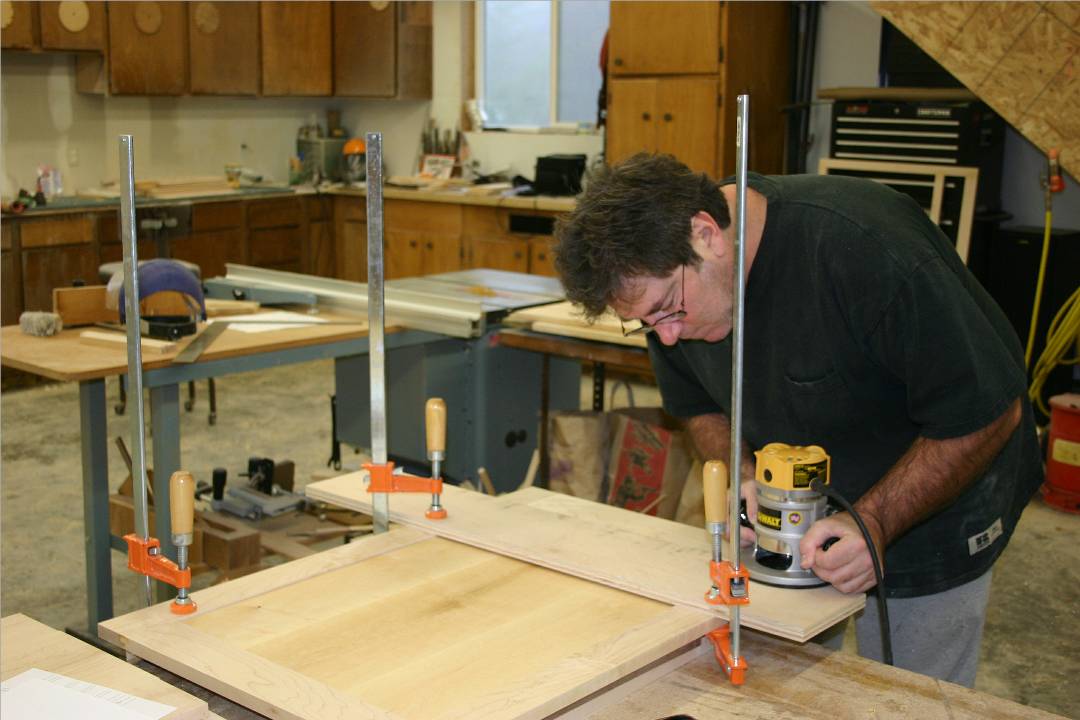 |
Bottom ShelfHere I'm gluing in the bottom shelf. I'm using a scrap piece of plywood to line up the dado and the groove. A groove goes along the grain and a dado is across the grain. |
 |
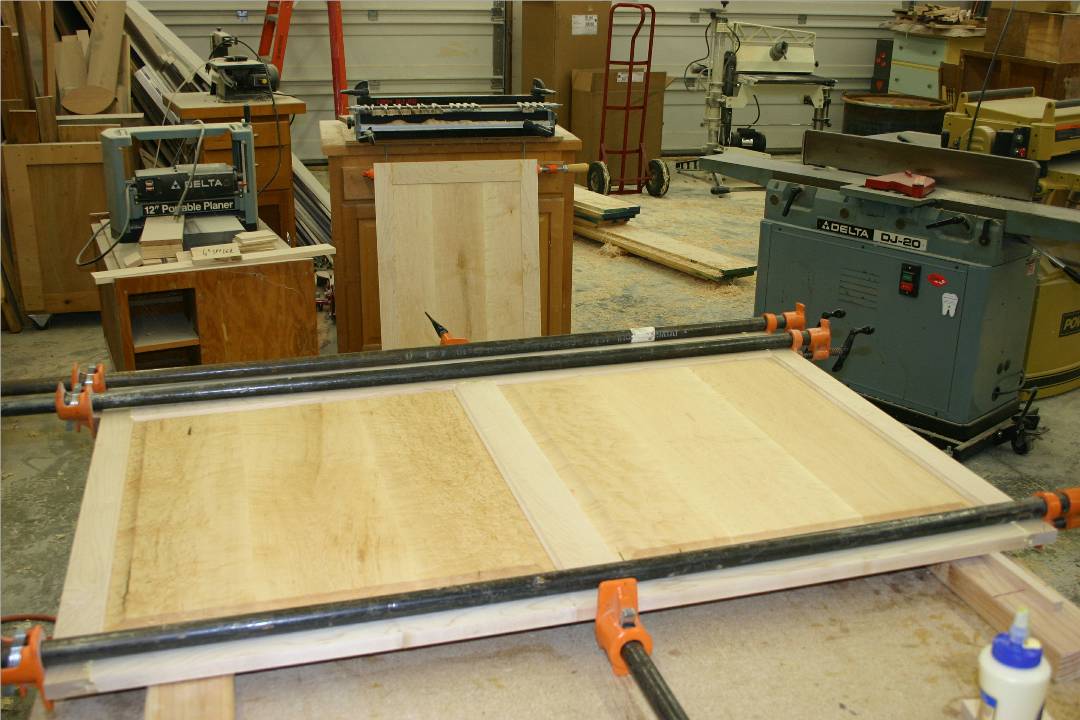
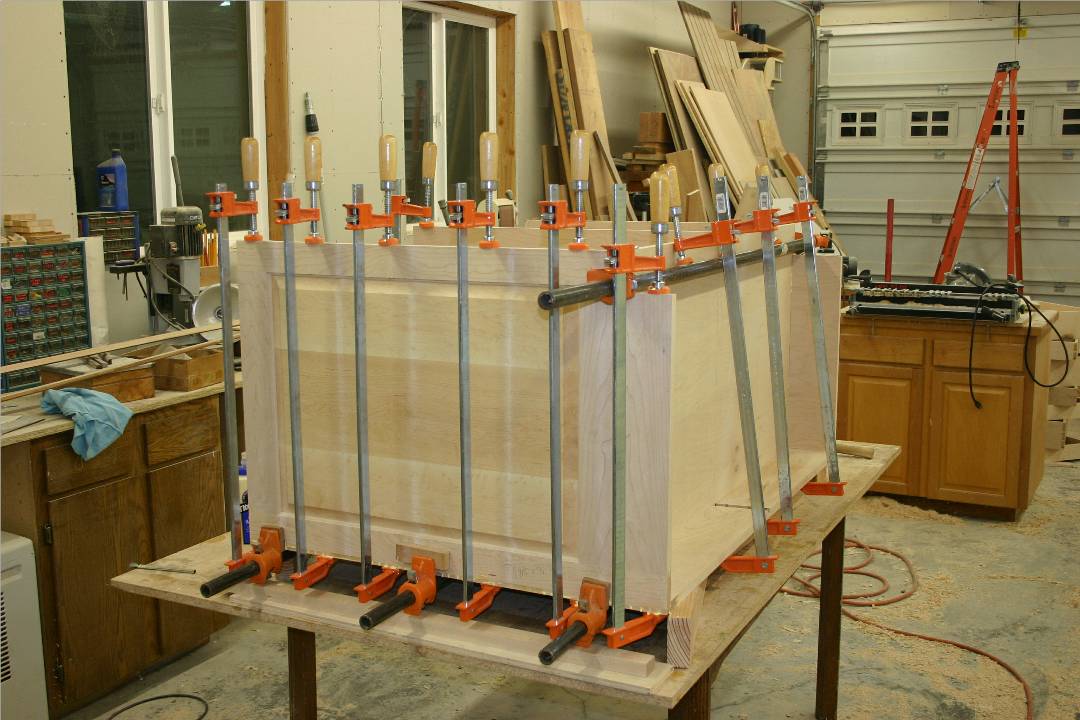
Clamp CollectionPretty much takes up most of my clamps to put one of these things together. When they say you can't have enough clamps, they're right. |
 |
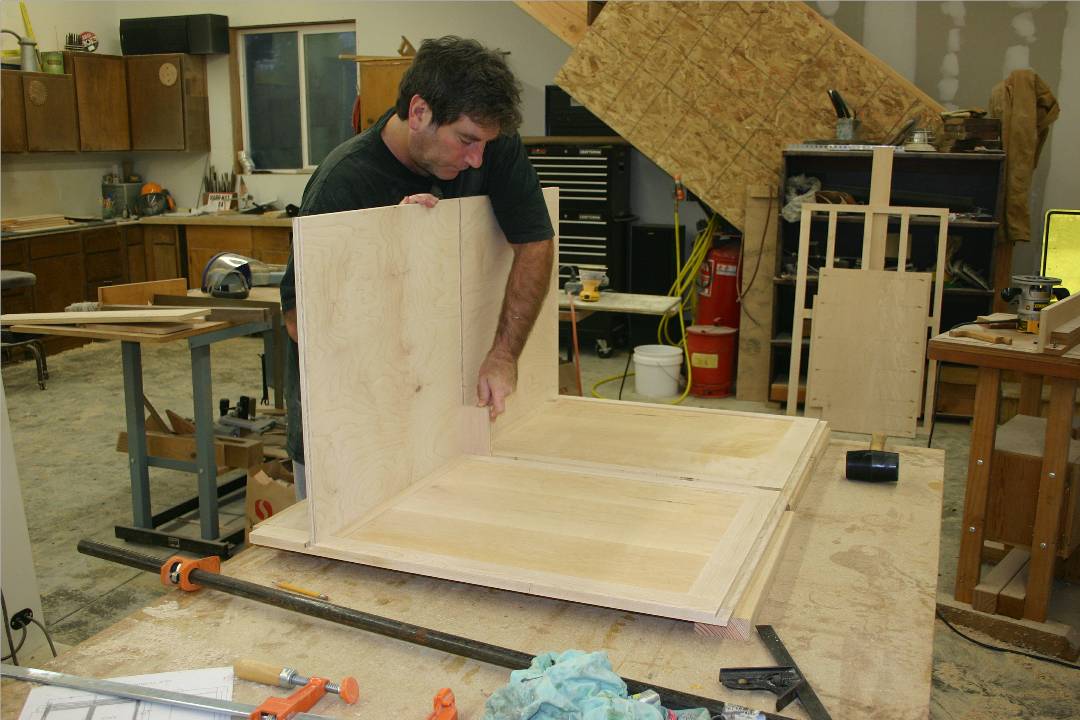
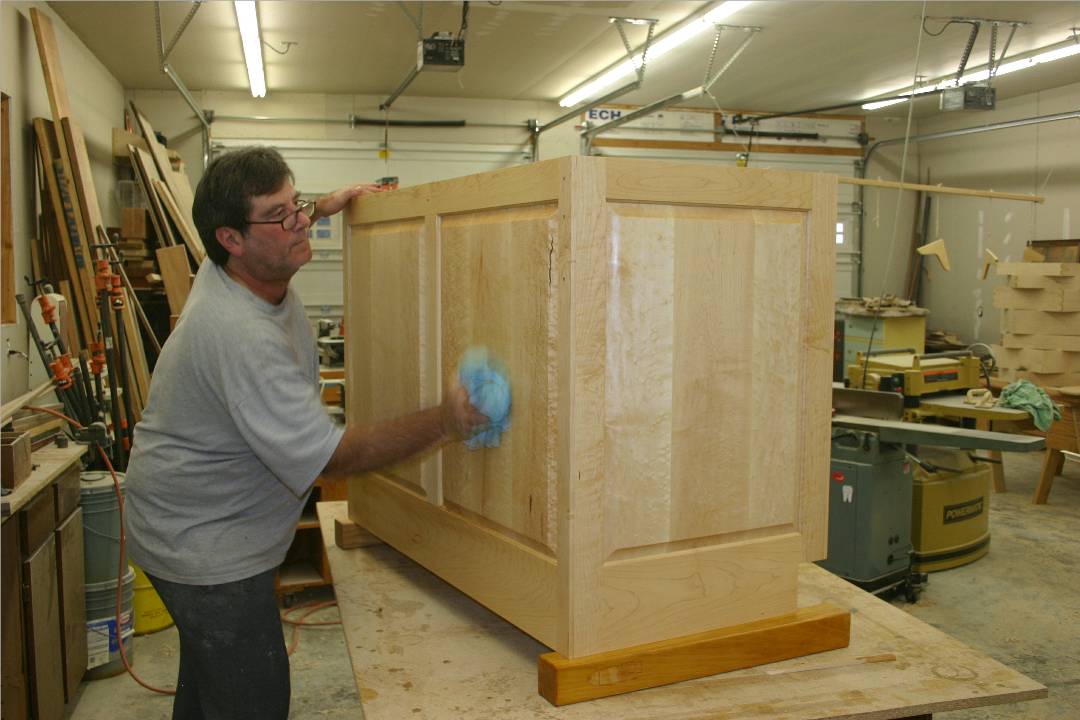
Close to DoneHere's the cabinet with the clamps removed and the glue scraped off. It's ready for more sanding. |
 |
Another ViewHere's the back and side, freshly scraped and ready for sanding - mmmm... sanding. |
 |
BracketsThe granite top for this part of the kitchen will overhang by eleven inches. It was necessary to put brackets on. They are only screwed on since this cabinet would not fit through the door with them attached... and that, would be bad. |
 |
Darth JerryI'm rounding over the edges of the brackets on the router table I made back in 1988! Still going strong, but could use an upgrade. |
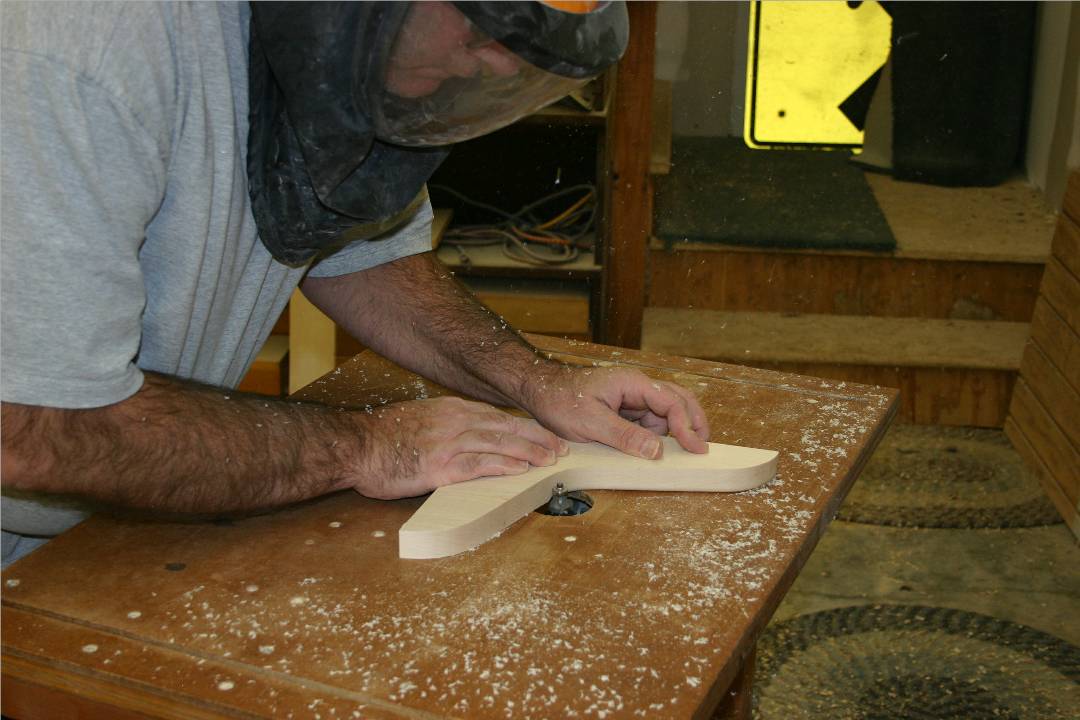 |
The FinishI used Danish oil on the cabinets because it is easy to use and repairs are easy as well. It also leaves the cabinets feeling like wood, not plastic. If I had used poly or lacquer, the stuff would have eventually flaked off and I'd have a lot of refinishing to do down the road. With oil, I can just clean the cabinets and apply a new coat. |
 |
At the SawCutting out some drawer parts on the table saw. |
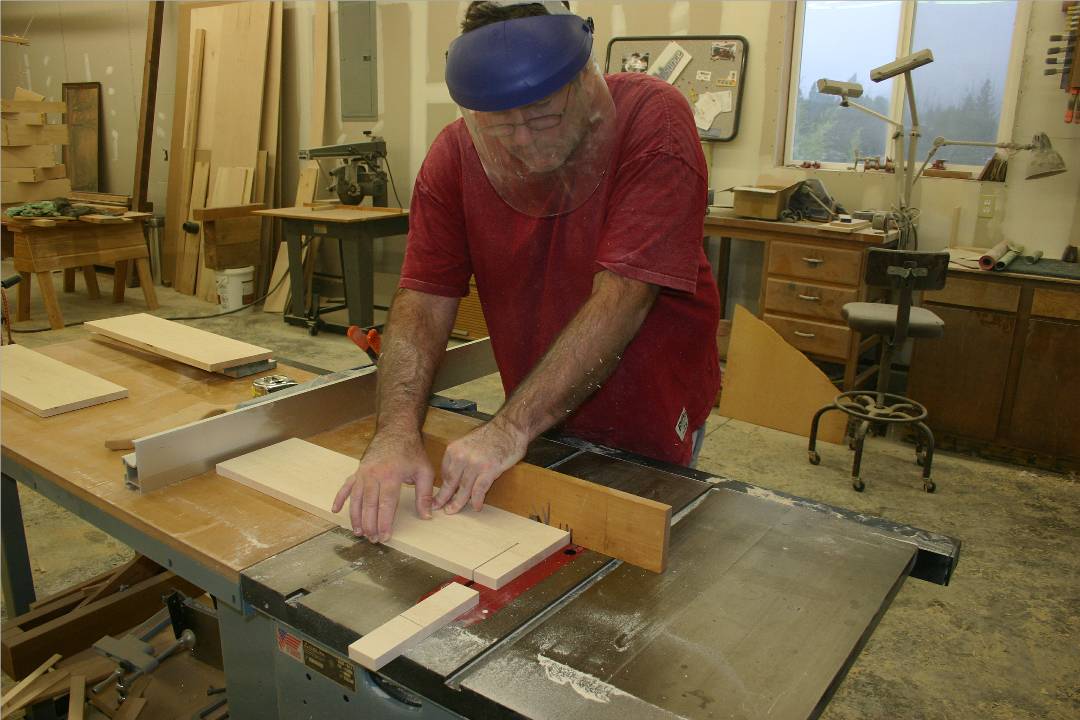 |
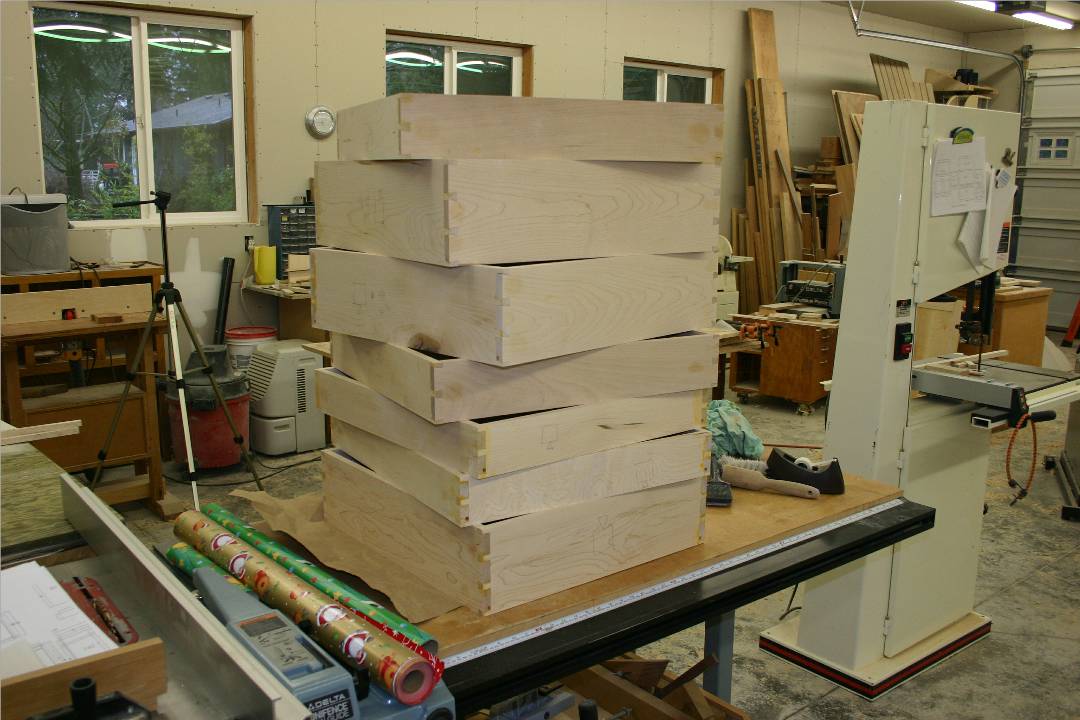
DrawersHere are some of the drawers. They're dovetailed. Note the Christmas gift wrapping paper on the table saw. It's probably been at least six months since this project started. |
 |
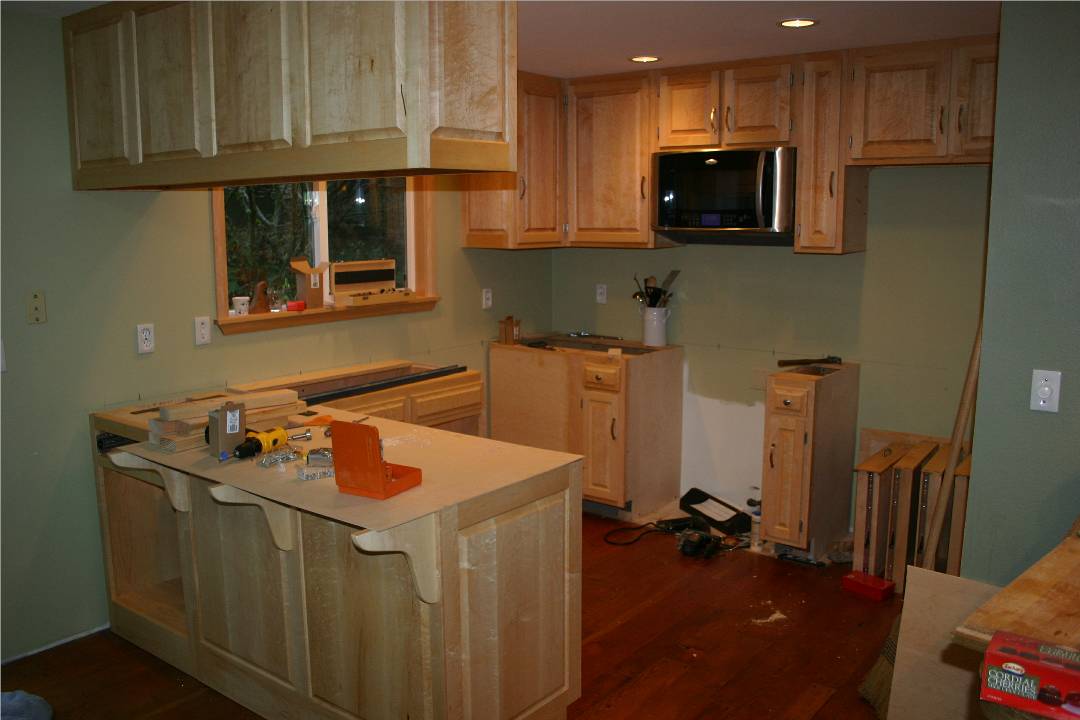
Back in the HouseThe cabinets are all in, for phase one. We're ready for counter tops. |
 |
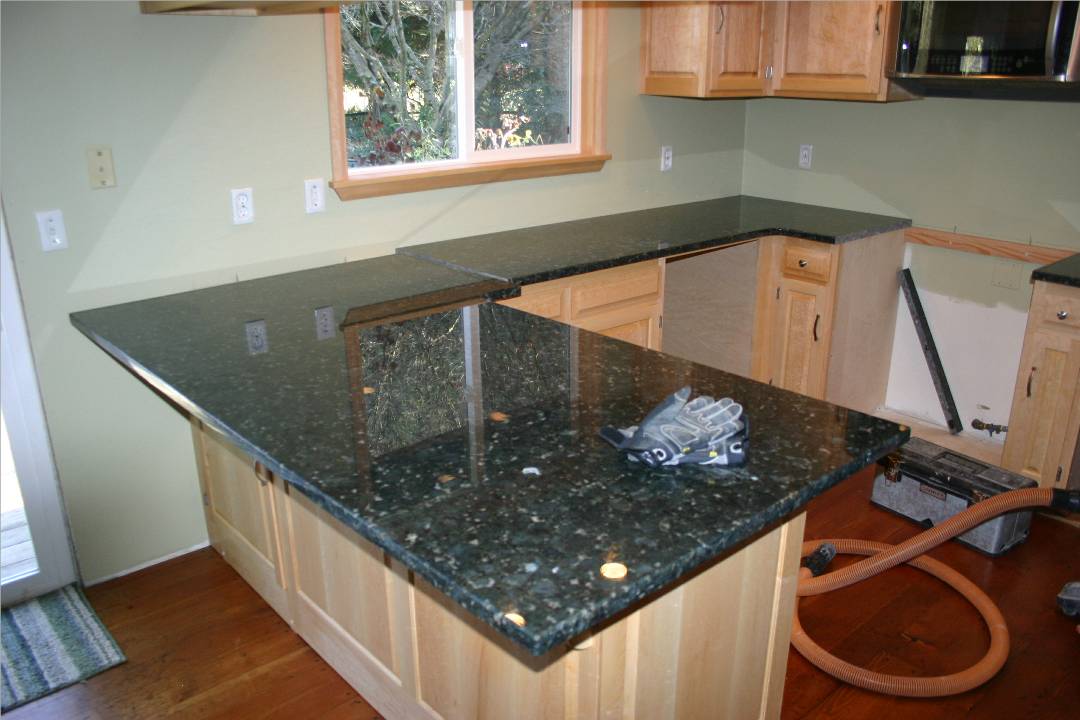
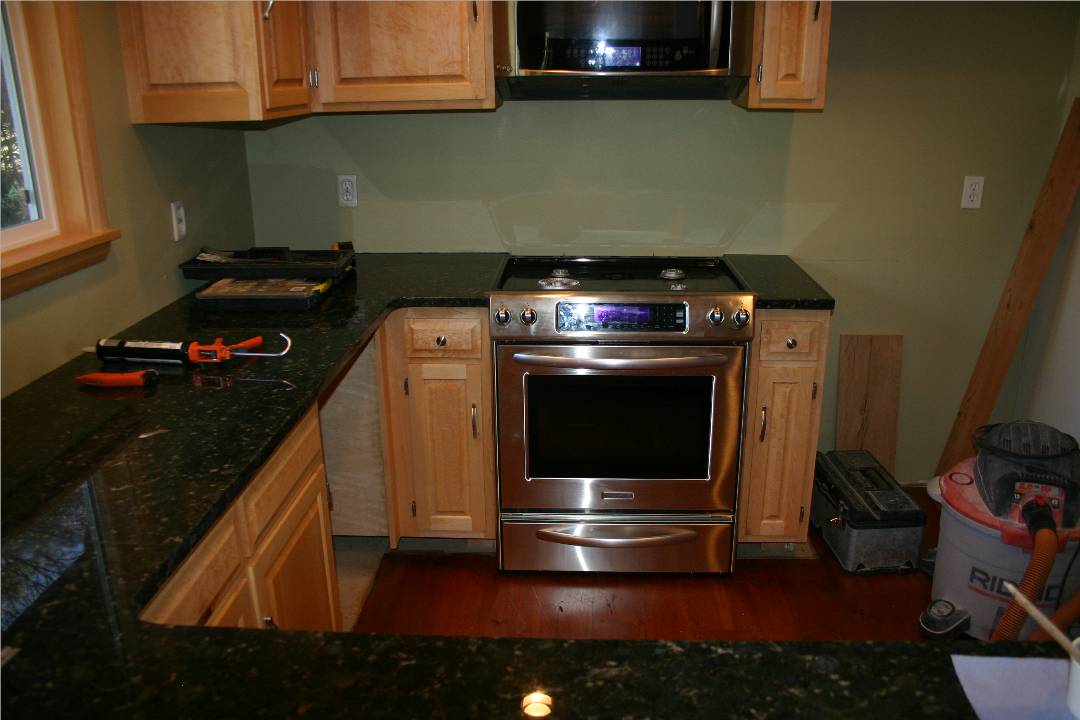
GraniteThe slabs have been set in place. Still need to glue them down, hide the seam and cut the sink hole. |
 |
The StoveThe guys from River City Granite & Stone slid the stove in. Part of their great service. |
 |
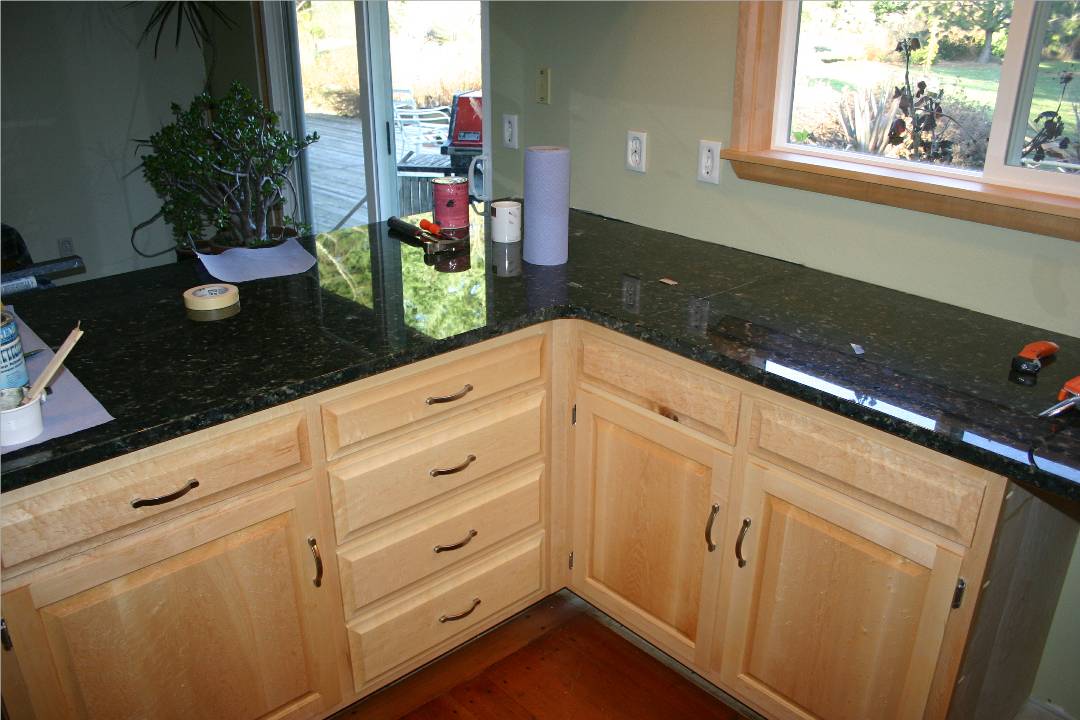
The SeamThere had to be a seam somewhere since slabs don't come that big (even if they did, you couldn't fit them through your front door). They put it where the sink cutout will be. You don't even notice it unless you're looking for it . |
 |
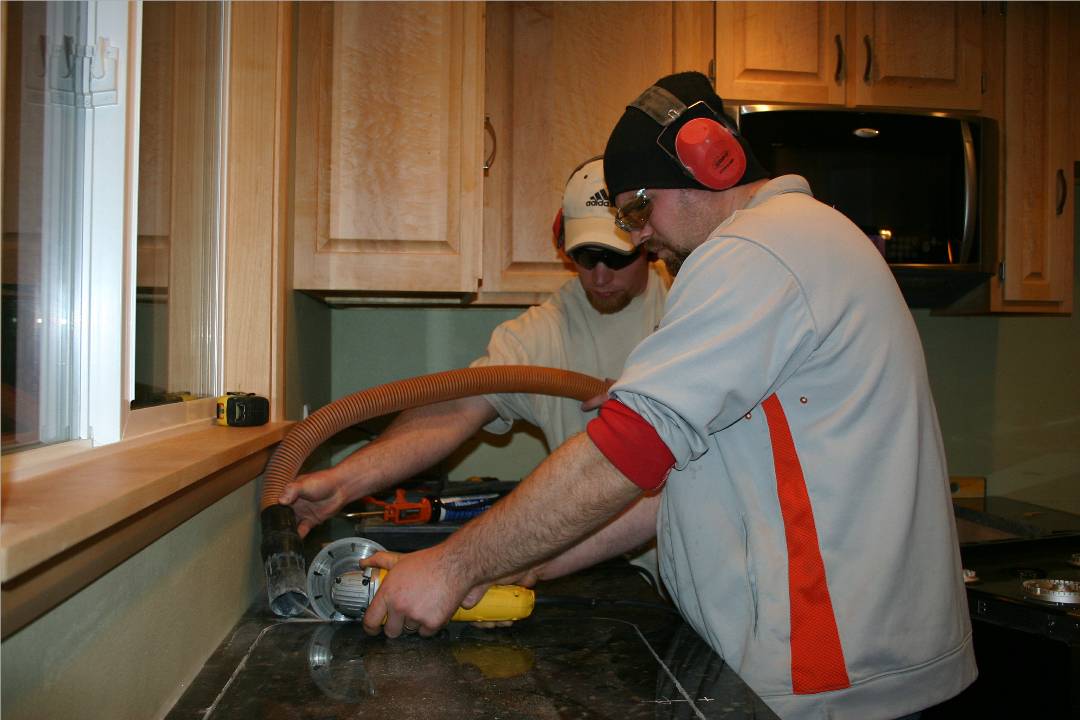
Sink HoleHere's the guys cutting out the sink hole. They're using a vacuum to suck up the dust before it makes a mess. |
 |
Phase One is Almost CompleteUnfortunately, when the River City Granite guys went to set the sink in place we discovered a chip in the enamel. No plumbing for me tonight. |
 |
Back SplashWe went with natural stone tiles for the back splash. The field is a green limestone that has fossils in it, and the accent is some kind of black stone. |
 |
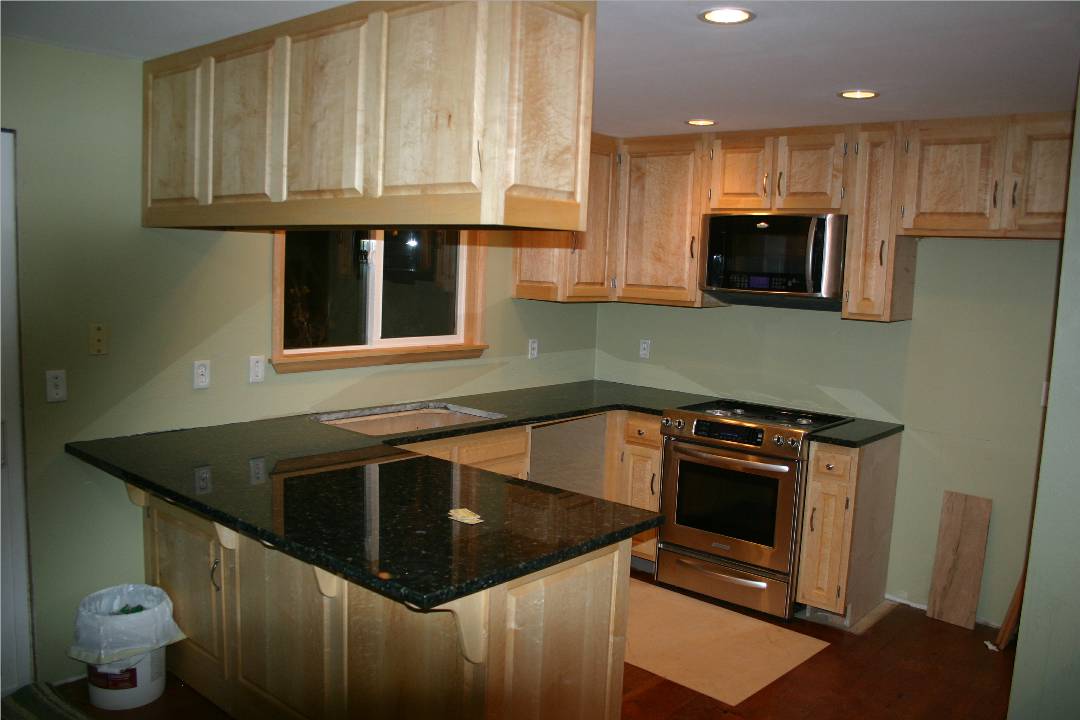
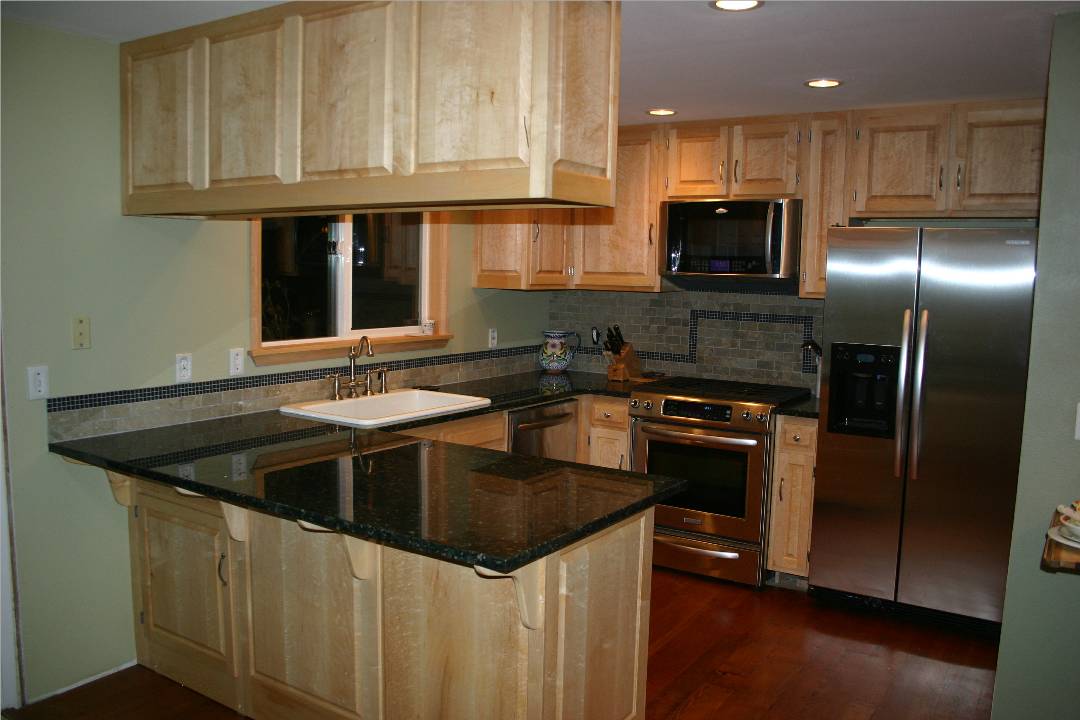
Working KitchenPhase One is complete! Rick came over to help install the sink. All that's left on this phase is to add trim. I'll get to that after Phase Two is installed. |
 |
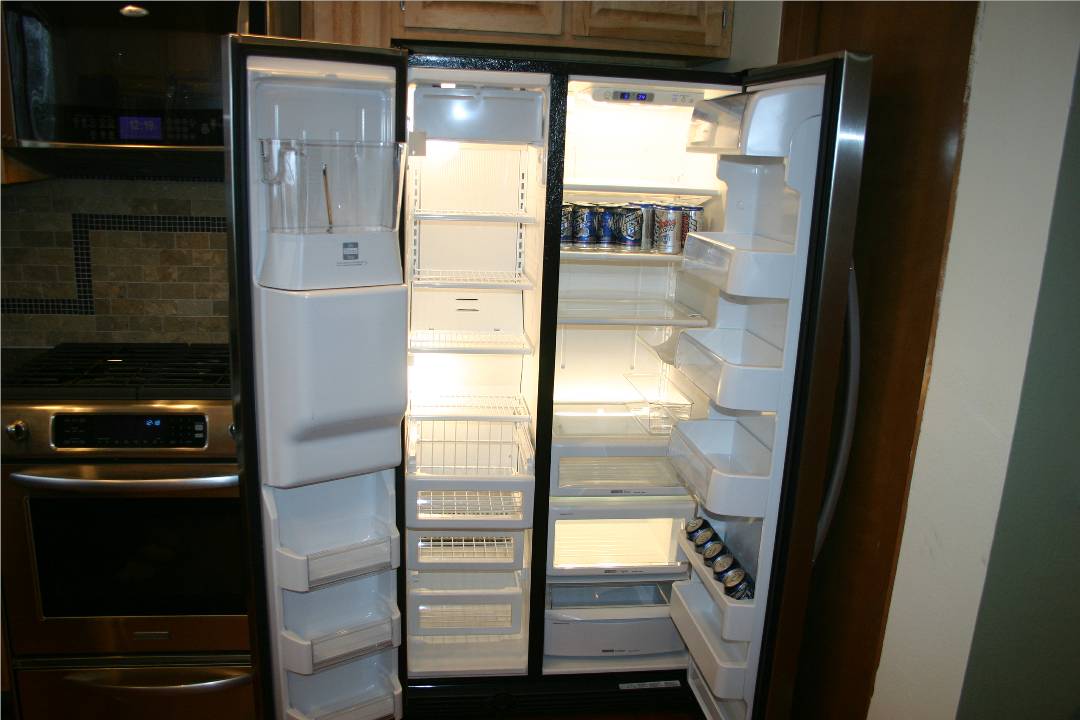
First Things FirstThe new fridge is stocked and ready to go. They're might even be some room left for food. |
 |
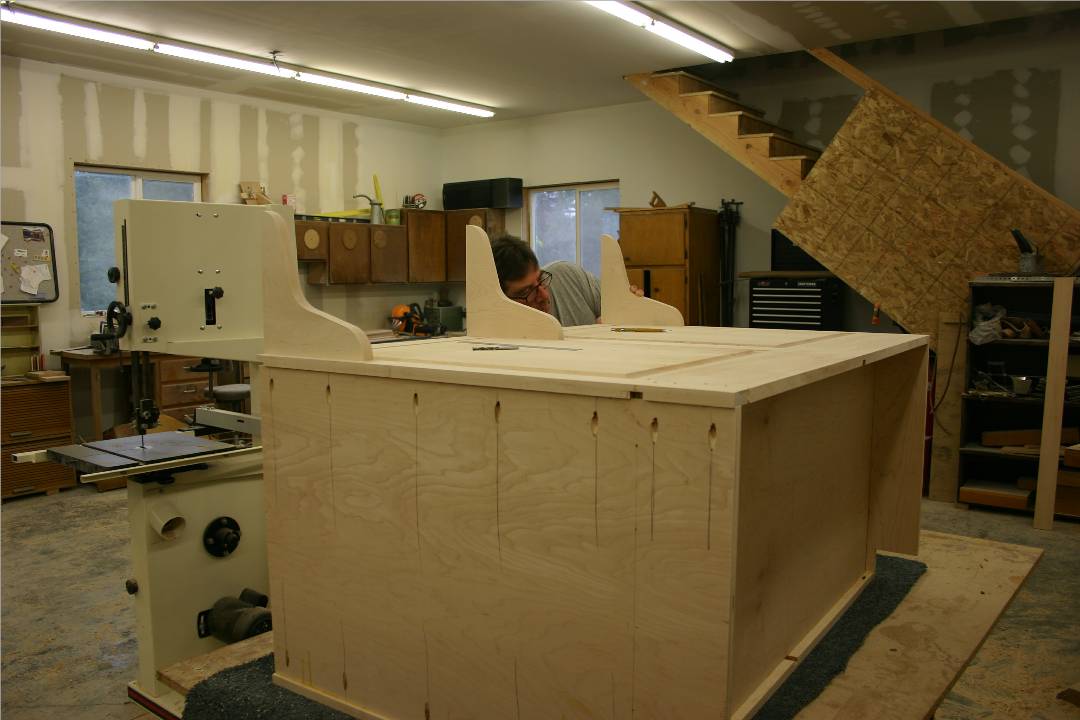
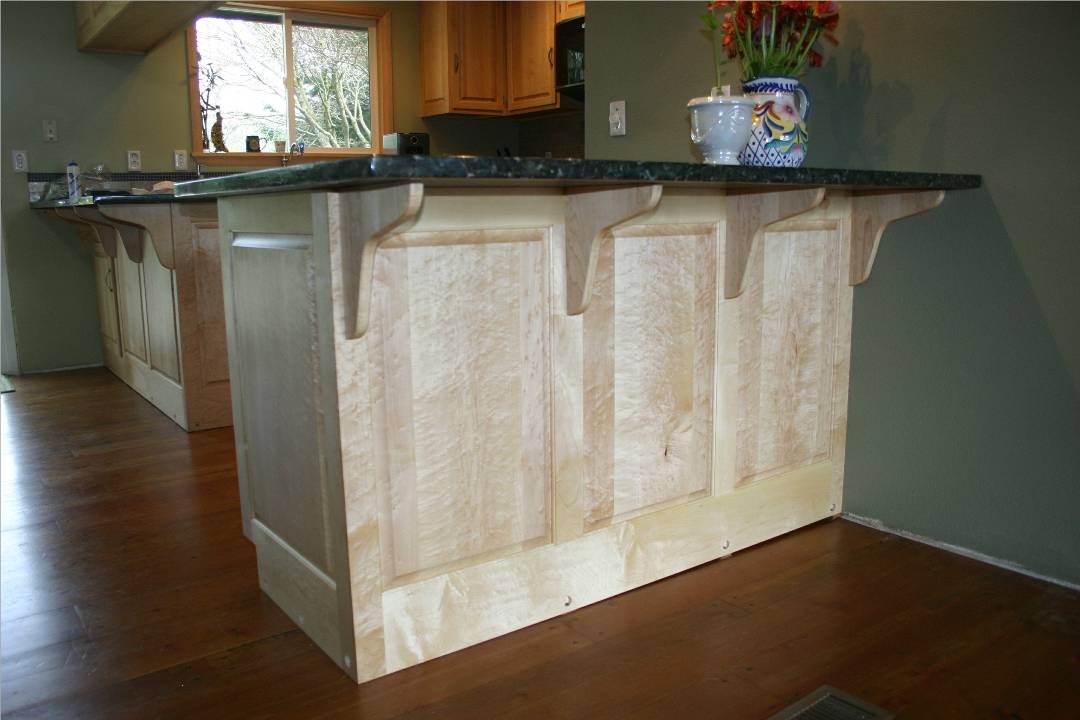
Phase TwoHere's Phase Two. Erin and I thought it would be nice to have a little more storage and more room for barstools. This cabinet is one piece. Behind the doors are drawers mounted on ball-bearing guides. All the lower cabinets have this. |
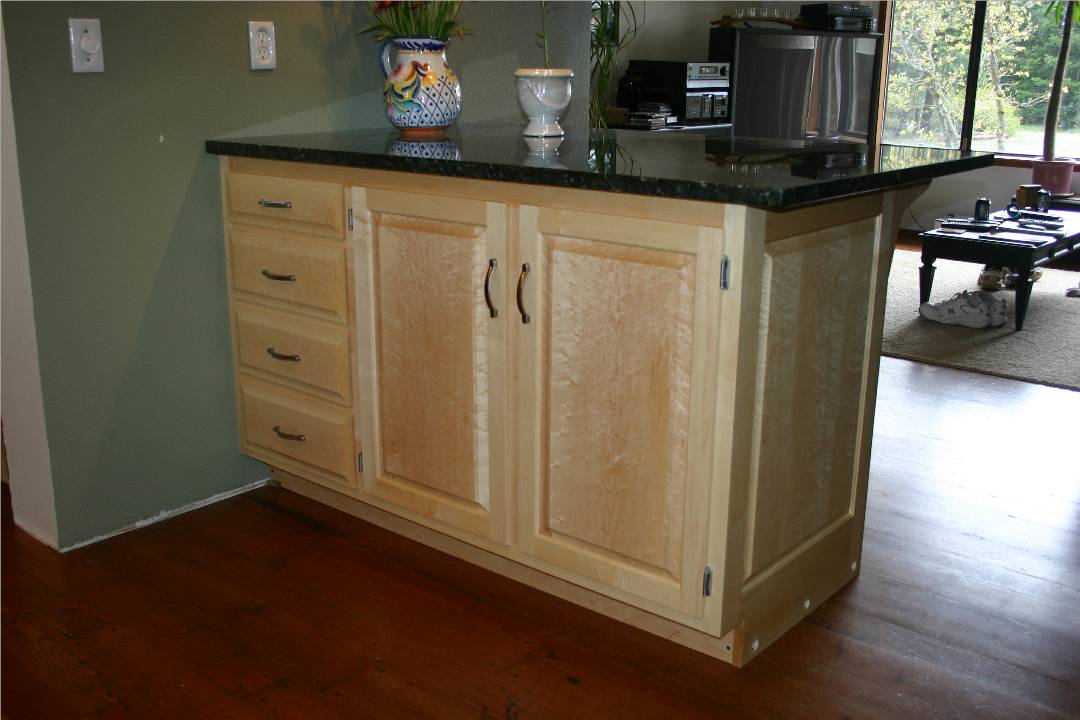 |
Phase Two AgainThe back side of the bar has some really highly figured wood in it. Lots of birdseye. |
 |
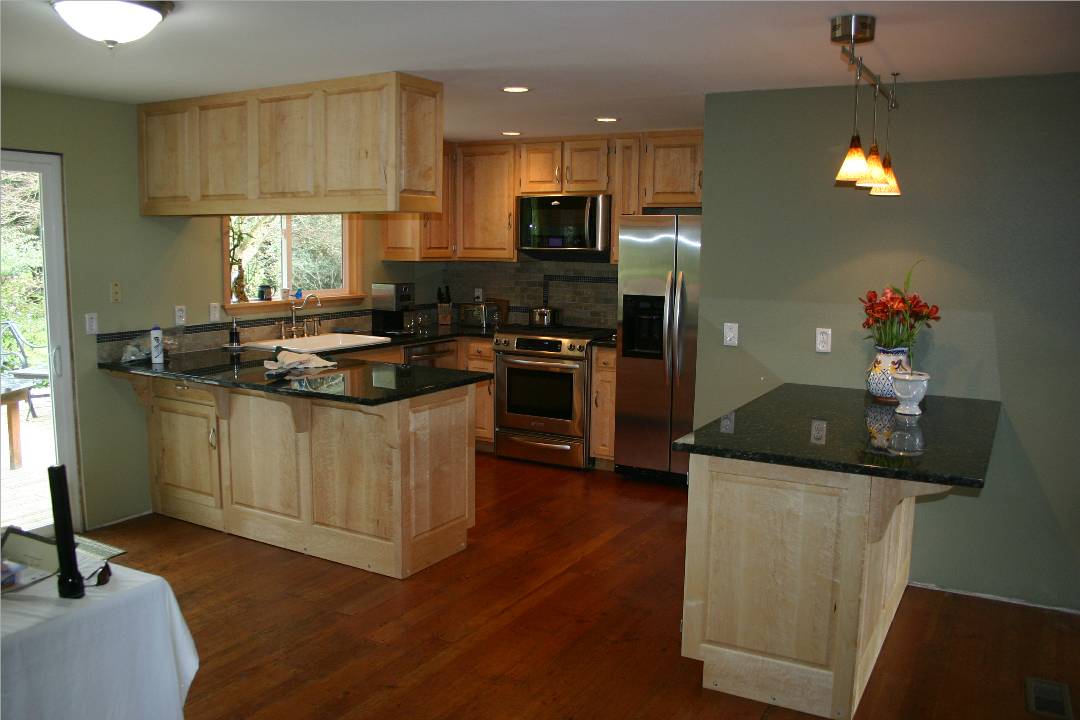
99% CompleteIn this picture, everything is done but the trim and the back splash for the bar. Since then, the kitchen is finished but I never took a final picture for the web site. Maybe one these days... It looks lived in now, and the cabinets are getting a little darker (patina) with exposure to light. Hope you enjoyed the show. The whole project took about 1 year to complete. Someday I'll put the shop project on here. The shop is still in progress and not scheduled for completion. Click your back button to go back. I didn't put any buttons way down here... You're off in the sticks, man. |
 |